
The 2005 Pontiac Grand am comes with disc brakes in the front and drum in the rear. In 1902 the brake drum was modern technology, but around 1960-1970 they started to be replaced by disc brakes on new cars. For quite some time many cars were made with disc in the front and drum in the rear, due to the fact that rear brakes aren't under as much stress as front brakes, and drums are cheaper than disc.
 |
| Before - No street cred at all with rusty drums behind those shiny new wheels. |
The upside is that discs offer more stopping power, better feel at the pedal while braking, more resistance to fading, and last but most of all, they look real good. And for all those reasons one day Brian said "We should convert the rear brakes to discs on the Grand Am". At first I thought that was crazy talk, but as we started tackling more complicated repairs and watched tons of Mighty Car Mods, the idea started sounding a little less crazy.
It turns out the Grand Am was offered with rear disc brakes as standard on the GT model of the same year, and the parts were supposed to be compatible with the base model, so if we could get a hold of all the right parts it would be a straight swap.
One day he IM'd me about a guy selling the complete rear disc brake components from a GT - knuckles, hubs, calipers, etc. He asked "should I do it?" and I replied just like any of his friends did when they accompanied him to a car lot for the sole purpose of telling him not to make an impulse buy - I said "DO IT!!!!".
And so the epic journey started.
After the brake parts arrived, Brian had to spend some time reconditioning them. The calipers and pistons needed to be disassembled to be cleaned and rebuilt, rust needed to be removed from parts, etc.
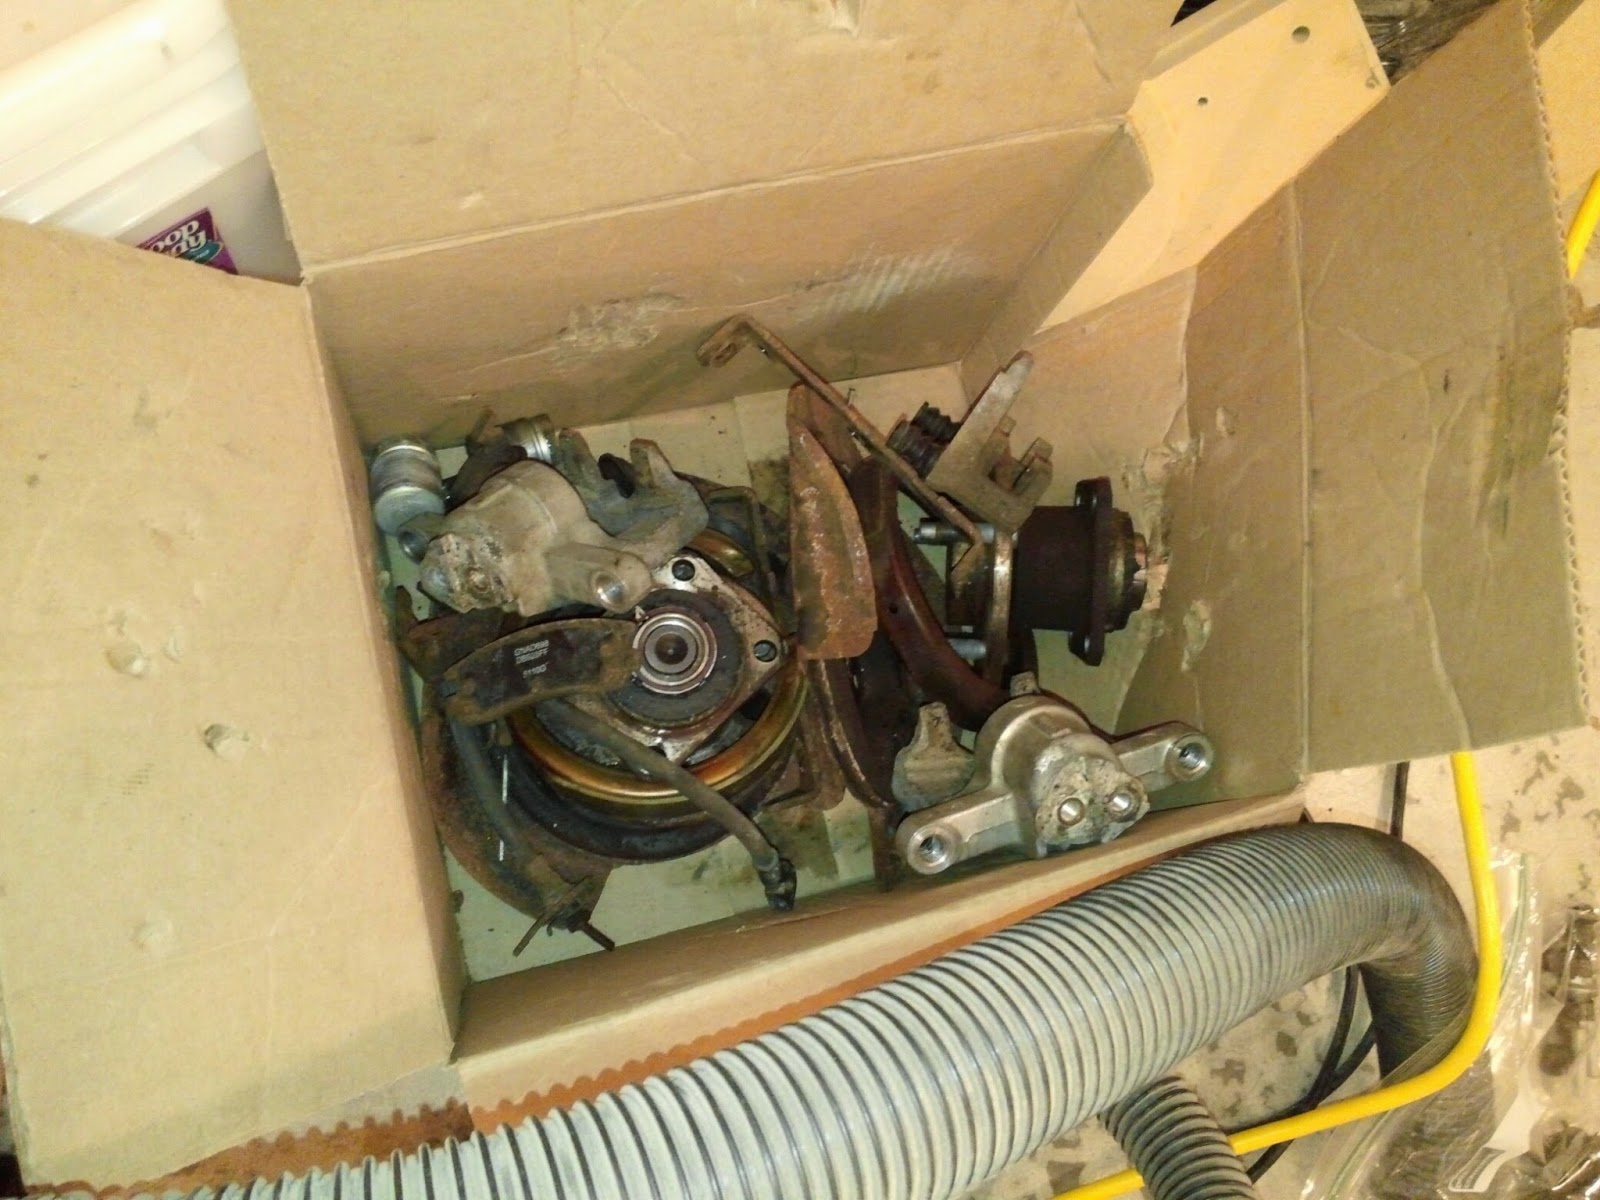
At this point I started getting texts from him now and then like "buying new hubs", "can't get the caliper out", "buying new calipers". Unfortunately, the parts were a bit old and rusty and many of them needed to be replaced with new ones, which raised the cost of the project quite a bit. Before beginning the project we already had a pile of junk parts that were unusable:
But eventually all the required parts for the swap came together:
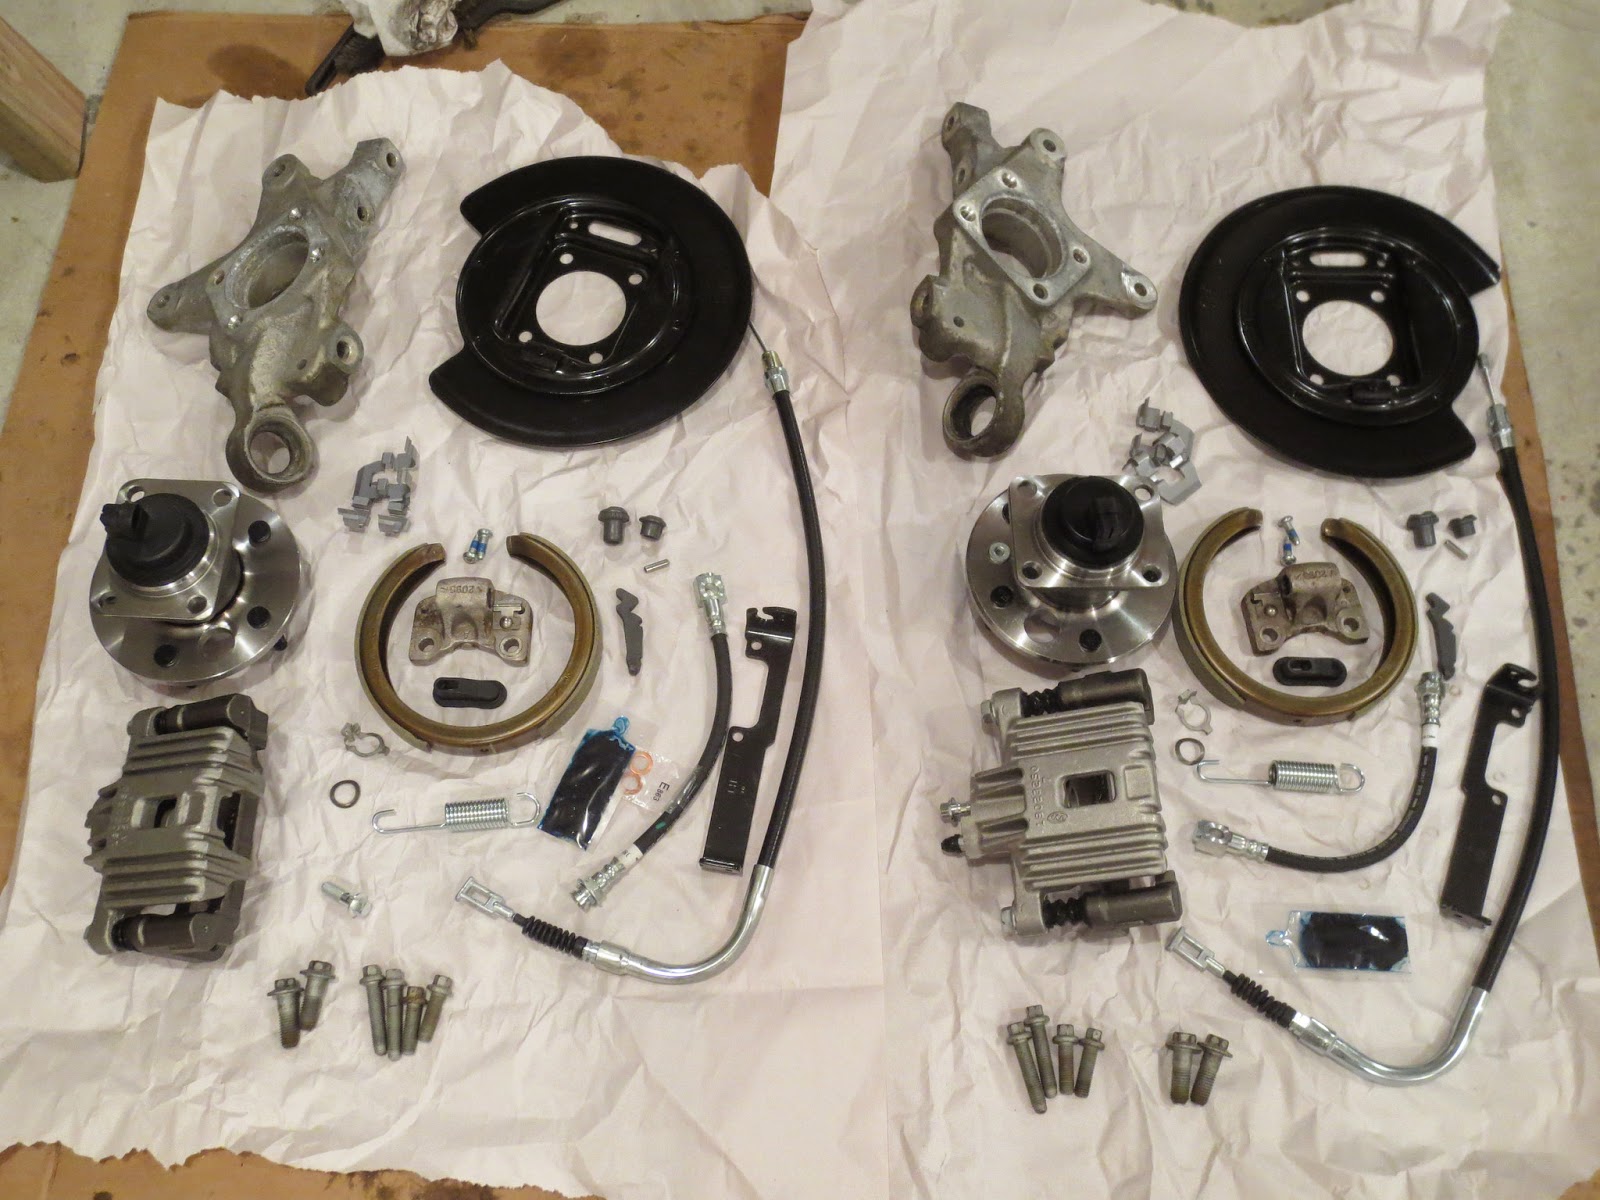 |
| Rear disc brake assembly parts. Knuckles, hubs, calipers, parking brake lines, parking brake assembly, heat shields, bolts, etc. |
Last weekend Brian took Friday off from work and started on the swap. Unfortunately, I wouldn't be able to come over and help until later the next day.
First the car is jacked up and placed on jack stands and the wheels removed.
 |
| Good riddance, old drums. |
 |
| From top to bottom: Two strut bolts, lateral link bolt, stabilizer bar link bolt, trailing arm bolt. |
Once everything is removed, all that remains to be done is to replace everything with the new parts. By the time I showed up Brian had mostly assembled the right side, but the left looked like this so that's where I'll pick up the story:
 |
| No going back now. Strut is also removed in this photo. |
The knuckle goes on first, and Brian has already mounted the heat shield, hub, and parking brake assembly onto them:
 |
| Front of knuckle showing hub and lug bolts. |
 |
| Rear of knuckles showing all their suspension and brake caliper mounting points. |
The knuckles can be held in place for now by inserting the lateral link bolt.
Since everything was coming off anyway, we figured this was a good time to replace the struts with brand new KYB "Strut Plus" pieces. These include the strut, new spring, and all hardware (mounting plates, bushings, etc). If you do this, remove the bolts from the top of the strut to remove it (see reassembly below).
So the first issue we had to resolve for the left side was a problem with the lower strut mounting bolts. They have splines that press into the knuckle, and on the bottom bolt the strut itself. This is to prevent the bolts from turning in the knuckle. The inner set of splines is a smaller diameter and should slip through the hole until the outer set engages. However, apparently the holes on one side of the strut are slightly smaller than the other side, and they only fit in one way:
 |
| Fits this way... |
 |
| ... but not this way. |
Why is this a problem? Because on the left side of the car this would put the nut on the lower bolt back behind the brake caliper, making it very hard to reach once everything is assembled. This nut needs to be accessed by an alignment shop when performing an alignment on the car, which is absolutely required after doing suspension work like this.
We were really unsure about how to proceed here without specific information about why one hole was larger than the other, or how the splines were supposed to work. After a whole lot of googling (and finding examples of alignment "technicians" using their impact wrenches to spin the bolts so the "splines chew out the metal") and examining the old struts we figured it wouldn't hurt anything to use a file to open up the hole just a little bit so the bolt would fit through the correct way.
 |
| Inner splines slip through now, and outer splines engage the strut. |
So with Brian relieved that I resolved that issue for him, I proceeded to then balance things out by going Dr Fumbles again while installing the strut. To install the strut, place it into the wheel well and insert the top bolt through the appropriate hole in the strut tower:

Then, have a helper spin the nut on the threads up on top. Access to the top of the strut tower is through the trunk, and requires pulling the carpet back a bit:
 |
| Thread this nut on to keep the strut in place for now. Do not drop that nut, it will disappear into another dimension. |
On my first try, I spun the nut about half a turn and it slipped out of my fingers and just disappeared. I checked everywhere and couldn't find it. Down the gap between the sheet metal beside the strut tower, underneath the carpet, on top of the strut itself... I just couldn't find it anywhere. Luckily, that was one of the new nuts, and we could reuse an old one. I offered to drop the other spare bolt down the other side of the car to even things out, but Brian didn't take me up on that offer.
Using a long extension, two bolts now need to be threaded from the bottom up through the mounting plate:
 |
| I redeemed myself by banging out this job flawlessly. Good luck trying this without a really long extension! |
Torque both bolts and the top nut.
Now is time to add the lower strut mounting bolts. We push the knuckle in at the top for maximum negative camber at the moment until an alignment shop adjusts them, and torque the nuts:
 |
| Pulling the splines into position by cranking on the nuts. Make sure to torque to spec after the bolts are fully seated. |
At this point Brian started getting concerned about the torque specs. Some of the bolts called for a pretty high torque, and at times it felt like the bolts kept turning and turning before tripping the torque wrench, making you wonder if all you're doing is stripping the threads out. Inexplicably, it doesn't seem to bother me too much (I keep reminding him "hey, it's not my car").
Now it's time to reattach some more suspension parts. First the trailing arm, which requires jacking up the suspension until it's near a "normal" height so we can put the bolt in straight:
 |
| Place the trailing arm bushing in the bushing hole and jack up the suspension until the bolt hole is near perpendicular with the opening and you can fit the other side of the bushing on completely. |
 |
| Then torque on the bolt. |
Lower the suspension back down, then attach the stabilizer bar link with its bolt:
 |
| Stabilizer bar link attached. |
You should have the parking brake hooked up by now, but unfortunately in our case one cable was too short and we were unable to attach it. We even verified it had the right part number stamped on it, but for some reason it was about an inch shorter than the other cable so we had to send it back and do without a parking brake for the time being while we wait for a replacement to ship. Due to the way the cable splits to run to each rear tire, with one cable missing the other side won't work either. This is the parking brake cable installed on the right side:
 |
| Sure would be nice if we had two of these. |
The hubs were installed onto the knuckles earlier, but they weren't property torqued, so we do that now. Brian works up to the torque specs, but is getting worried about how much pressure he's putting on the bolts:
 |
| The hub contains holes to access the four mounting bolts with a socket. |
The first bolt I torque to full specs seems a bit off. When I try a second bolt, it seems to spin weirdly without getting tighter. We both stare at the torque wrench for a second, and I'm thinking "Surely, I didn't just strip out those threads... surely?" I try again with the same results - some resistance, then it breaks free and spins. I'm 90% sure I stripped the threads now. We look at the bolt head to make sure it didn't get rounded out, and it looks fine. I sit down for a minute to think about what I've just done, when I notice that we've cracked the 10mm socket:
 |
| Crack running down the side. Heaps easier to replace than stripped out threads. |
After a trip down to the auto parts store for a new socket, we get everything torqued up just fine and now attempt to adjust the parking brake. We're on the left hand side, and the instructions don't seem to match what the brake actually looks like:

 |
| The brake shoe in the instructions seems to bend the opposite way. |
But whatever, the bigger problem is that Brian showed me how the brake shoes can slide up and down a bit and they need to be centered, so I tested that out by pushing the shoes right off the mechanism, requiring him to properly put them back in place (involving making sure the lever mechanism that activates the brake is attached correctly) at which point grease got all over the shoes. A little brake cleaner to take care of the grease and we were back on track.
After all the adjustments are done (brake shoes aren't rubbing on the disc) we put on the disc and install the brake caliper bracket:
 |
| Always clean a new rotor with brake cleaner before use. |
Then the brake pads are put in place. The red color on the back of the pads is an anti-squeal compound that is sprayed on and set to dry for about 10 minutes.
 |
| The pad with the warning indicator goes on the outside on the rear brakes, which is opposite from the front. |
Now the brake caliper mounts to the bracket, and the brake hose needs to be attached to the line on the car:

When we went to attach the brake hose we ran into yet another issue. The brake hose just didn't seem quite long enough. We were able to attach it, but at full suspension drop it's stretched too tight for our liking. We installed it for now, but will look into whether we can get some longer hoses.
 |
| "Who makes these hoses anyway??" |
 |
| Hose stretched a bit tight. |
Bleeding the brakes involves one person pushing on the brake pedal while the other opens/closes a valve on the brake caliper, pushing air and old brake fluid out through a tube. This is performed until no air bubbles are seen coming out of the caliper. All air must be bled out of the brake system any time components are disconnected from the brake lines for it to perform correctly.
After this is finished the wheels go back on, then the jack stands are removed.
 |
| Cautiously optimistic that the car will still actually be able to stop. |
 |
| Now that's more like it! |
Very helpful for many of my questions for a similar project on a 2003 grand am, so thanks for sharing!! I do have a couple questions if you don't mind. (And I am apologizing in advance if they are dumb questions, but this time last year I knew nothing automotive, I gatta learn somehow!)
ReplyDeleteDid you ever find out about the break fluid lines, if longer ones needed to be ordered?? And with a different brake type, do you need to find stronger/larger/different brake fluid lines? And does ABS get at all affected by the new brakes?? I plan on installing high performance disc brakes, do I need to replace the master cylinder?
Can this be done with a 1995 Pontiac Grand Am Se I wonder? I hate drums to. I currently have a problem with my drums that shudder and not stop car properly, after multiple visits to different repair shops they cannot find cause, I even had drums resurfaced, told the shoes are great (the discs up front are fine are relatively new). The shuddering only occurs should I ever come to a sudden stop or if I am going down on an incline like a parking lot with the lightest brake pedal contact at a slow speed. Yet no one can seem to find problem no matter how specific I am in what I am experiencing. Never has this issue with discs on all fours on other cars except the natural wear down pads or something. I am going to try one more place, if not, thinking about putting car out to pasture and looking into getting a different car which I hate to do when the car overall (which has 132,000 in mileage) seeing as everything else on car functions fine. Whatever feedback you might have would be great. I am not a mechanic, and many places won't do such a procedure because of what some say is a potential conflict with insurance and what some have said to me a "liability" issue should such a conversion not be successful. Thank you for reading my post!
ReplyDelete